
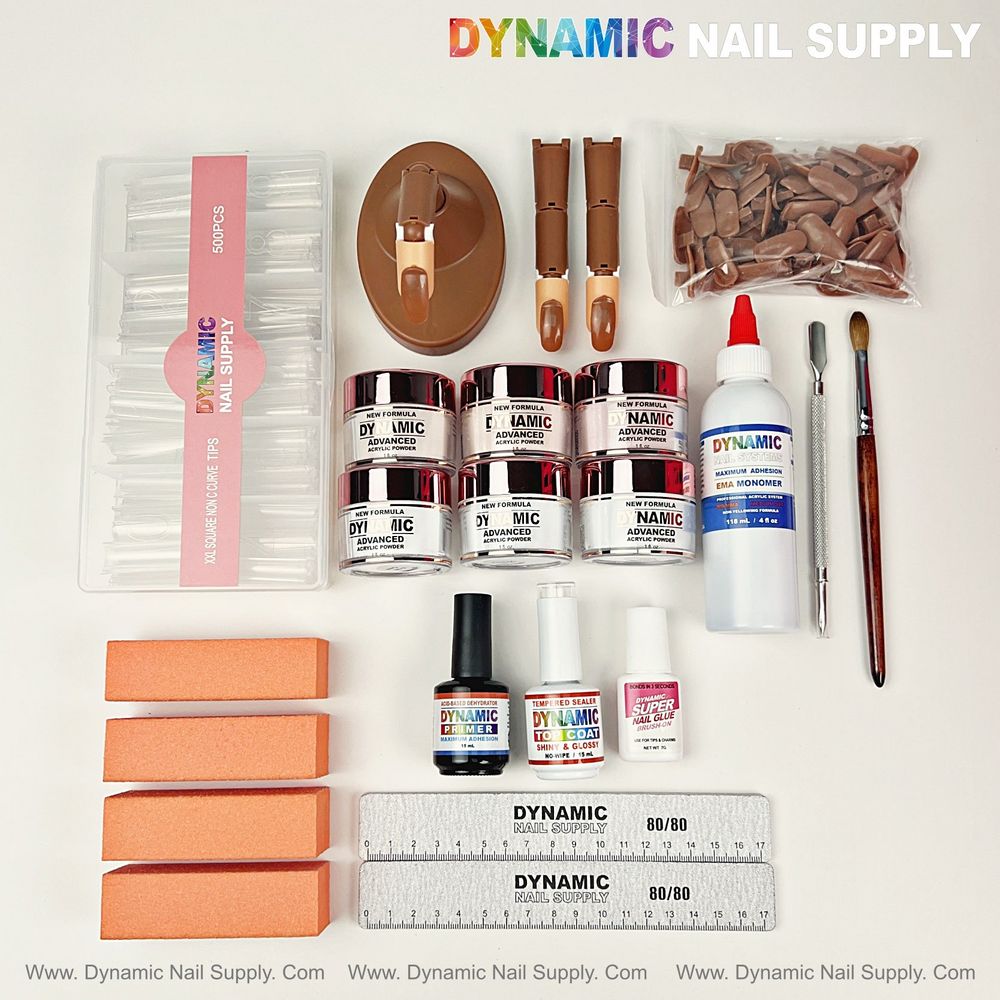
Ready to start doing acrylic nails at home or in a salon? This beginner-friendly guide breaks down the common terms, explains each tool in a starter kit, and walks you through an easy step-by-step application so you can practice with confidence.
What “acrylic” means and the parts you’ll use
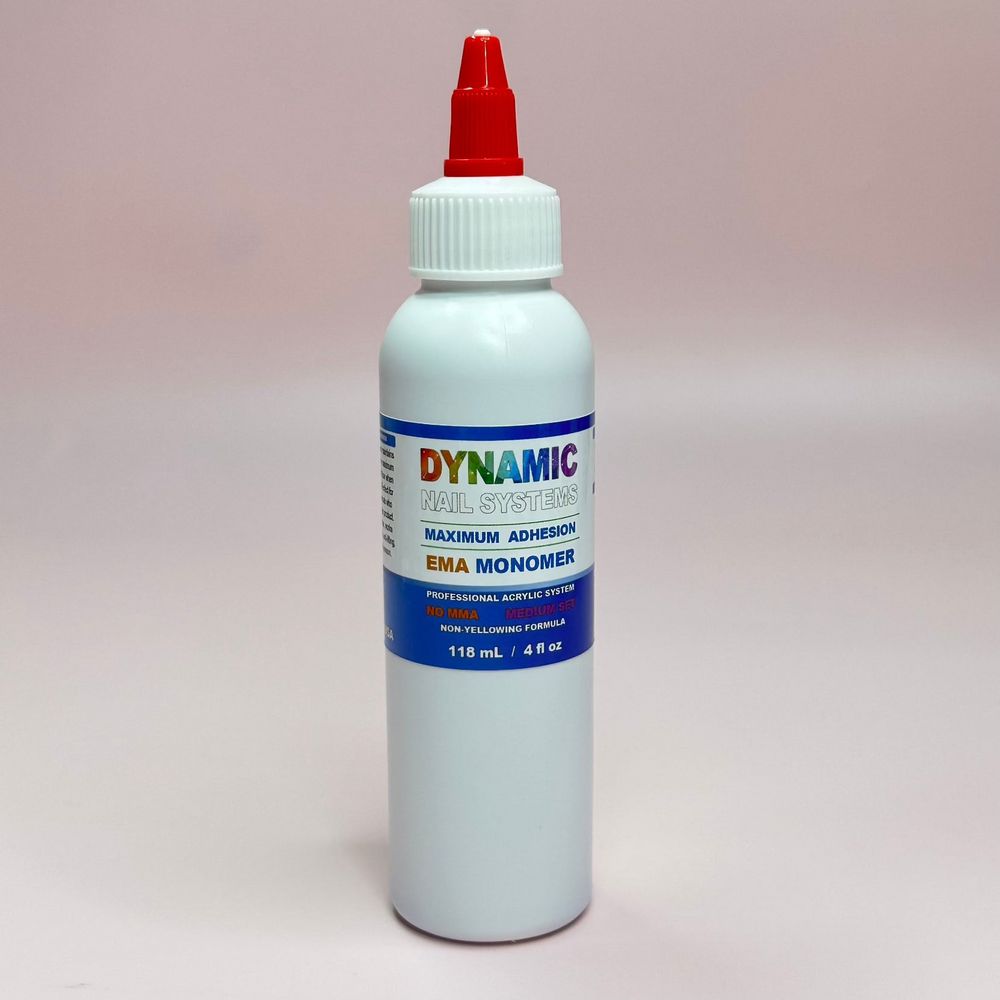
In salon terms, acrylic nails are built from two main components: a polymer (powder) and a liquid monomer that, when combined, form a malleable bead that hardens into a durable overlay. Your kit supplies both powder jars and a bottle of Nail Liquid Monomer along with tools to shape and finish the set.
What comes in the kit — a quick inventory
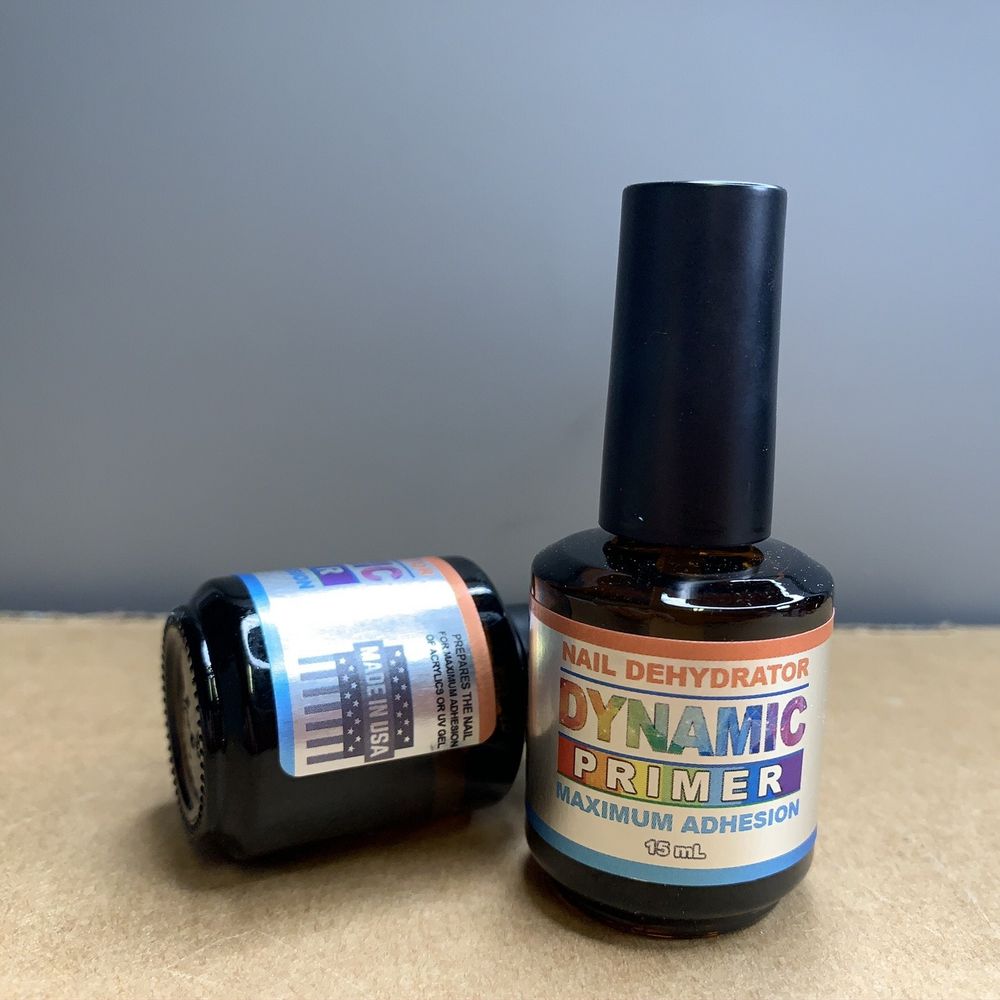
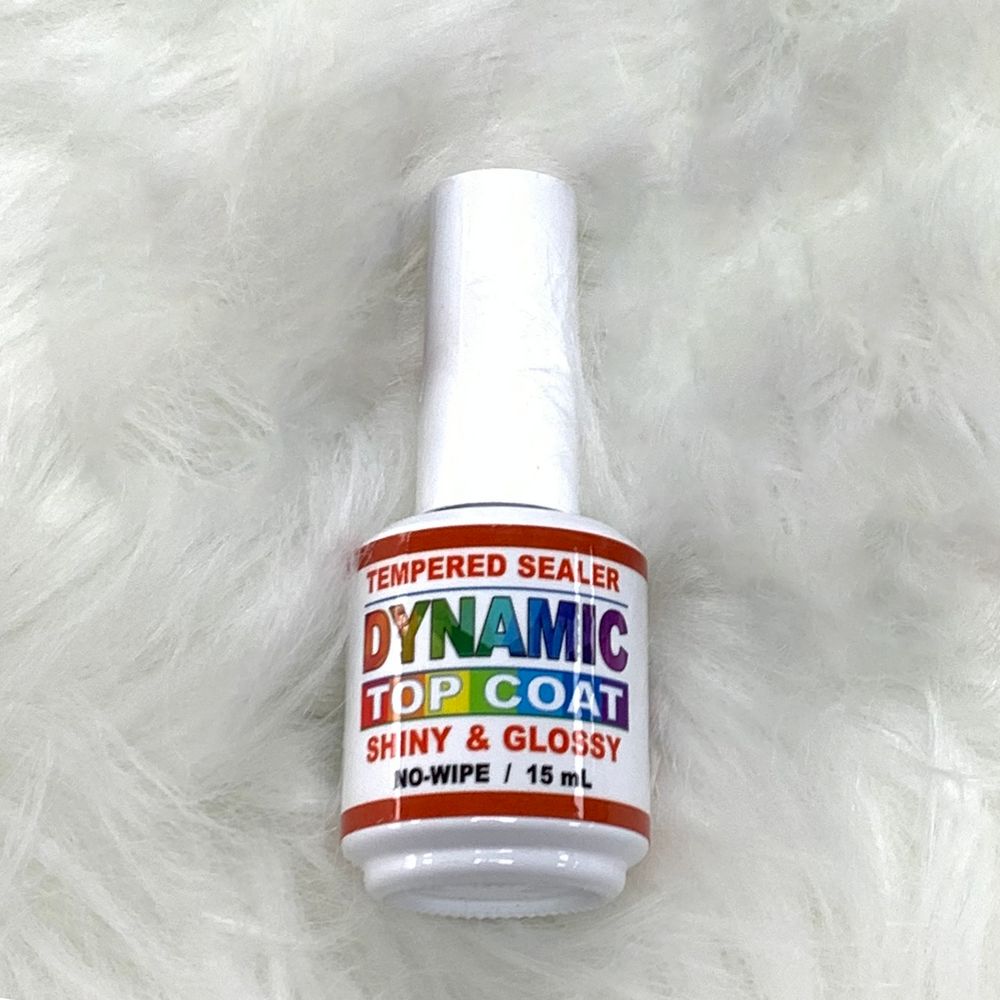
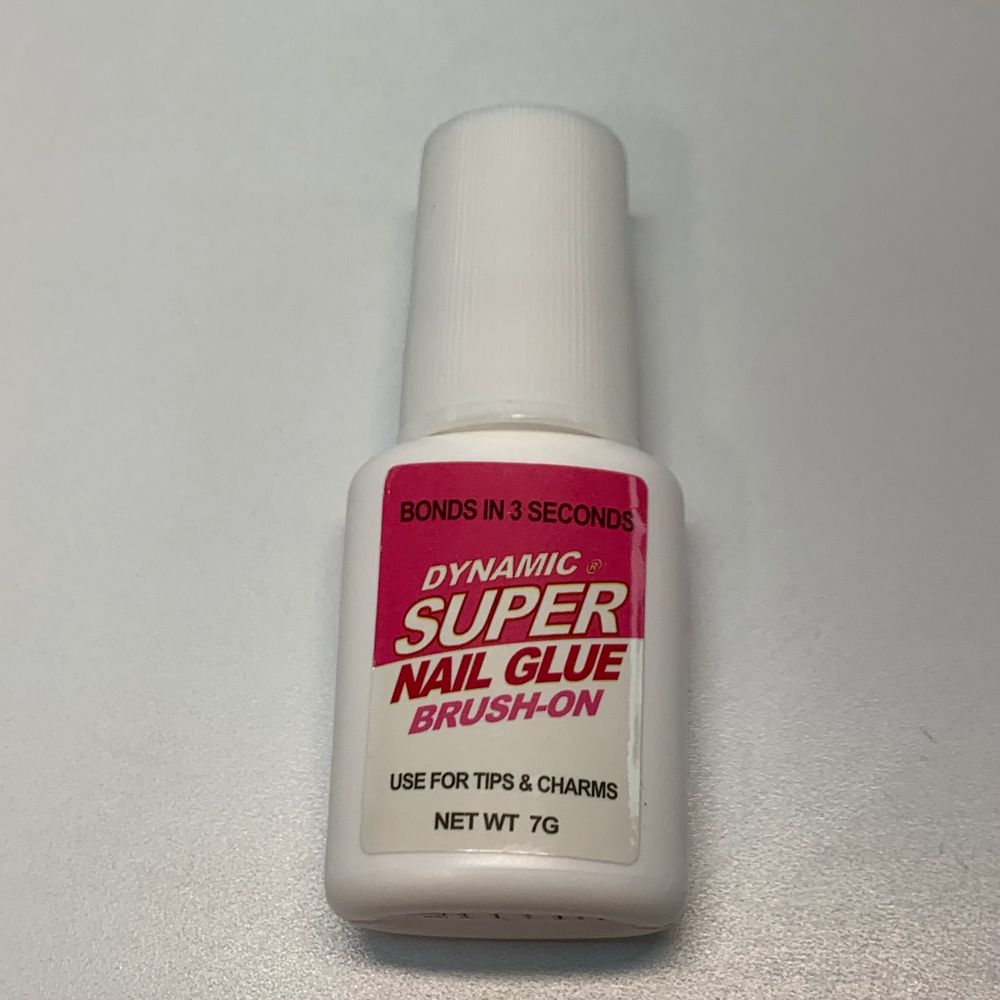
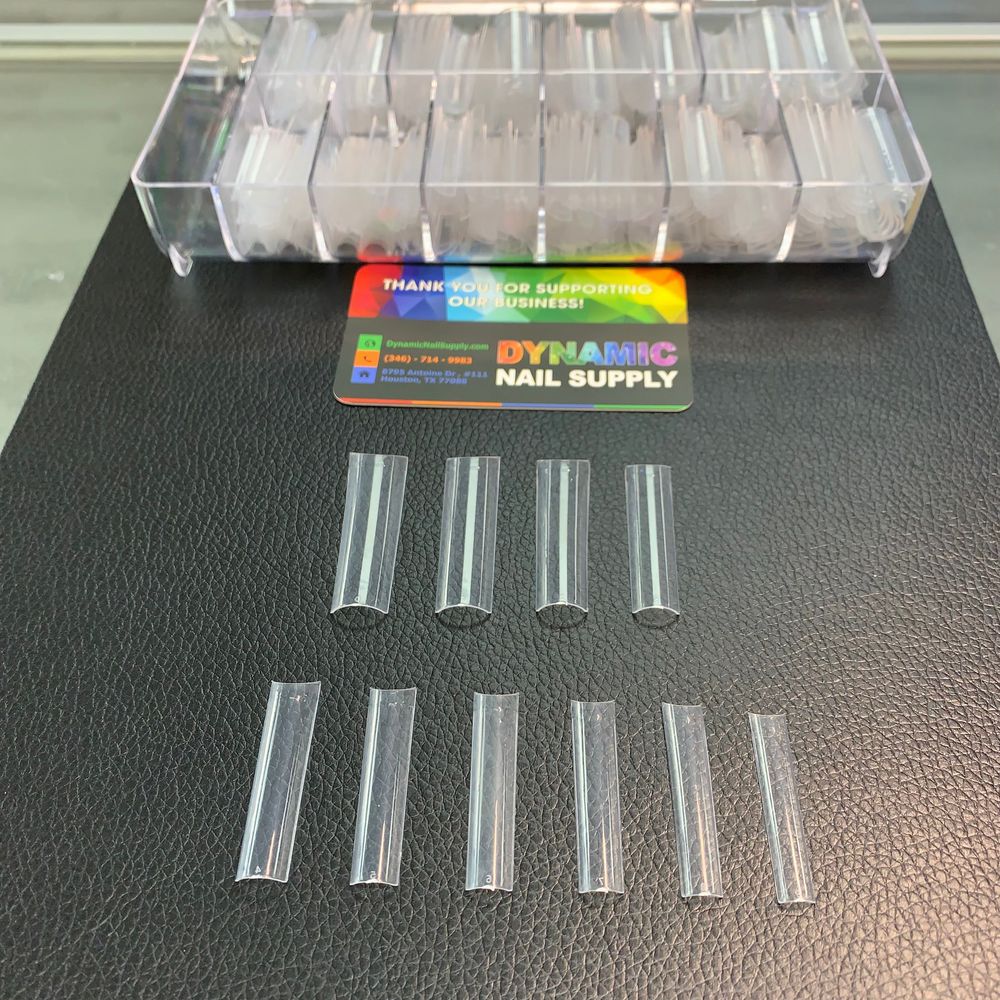
This kit bundles the essentials so a beginner can practice start-to-finish: a size #10 nail brush, buffers, hand files, a cuticle pusher, six 1oz powder jars in a variety of colors (including Nude Affair 127, 213 Bad Enough, 211 Vintage Nude, Clear, Soft-white, White 022), a training finger set, 500 false nail tips, one 4 oz bottle of liquid monomer, a 15ml primer, brush-on glue, and a 15ml no-wipe top coat gel. The kit is listed at $93.88, and contents make it easy to learn all stages from prep to top coat.
If you want to see the exact items included, check this acrylic kit in the product listing.
Step-by-step: a simple beginner acrylic application
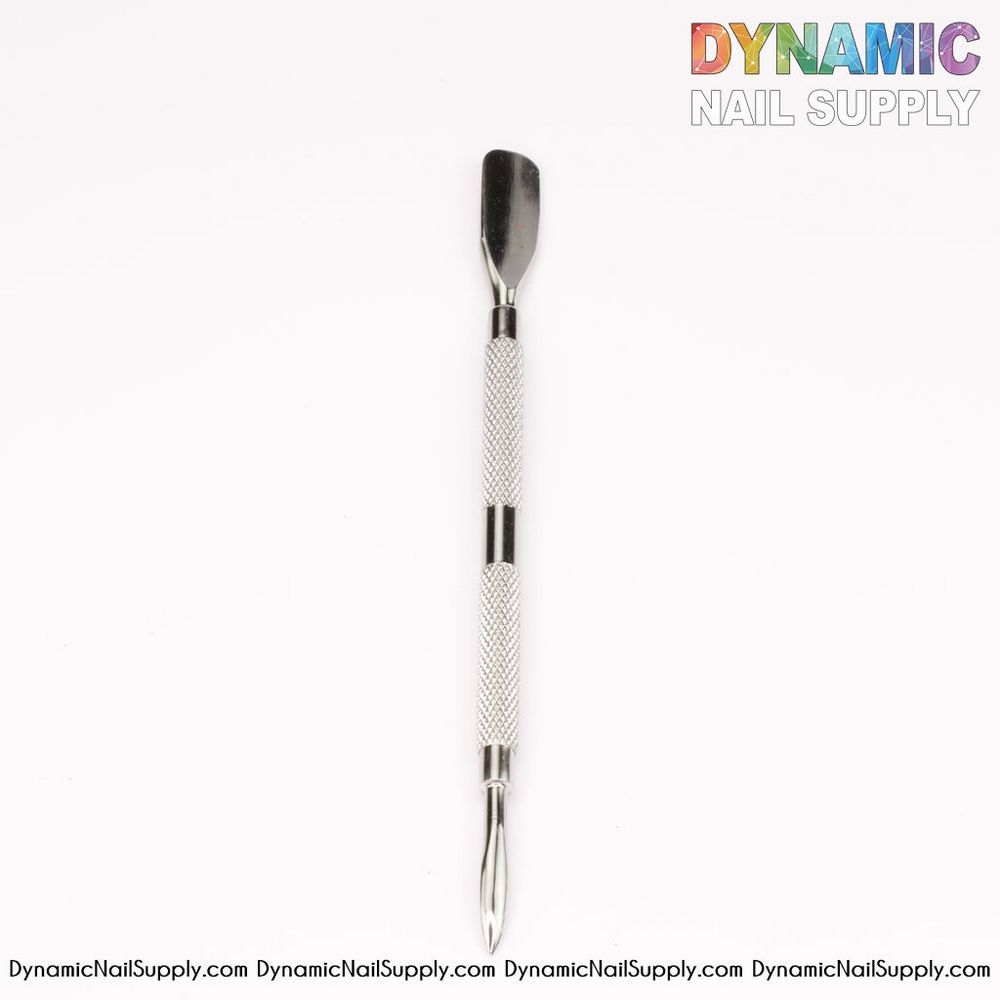
- Sanitize and prep. Wash hands, push back cuticles gently with the cuticle pusher, and lightly buff the natural nail surface to remove shine.
- Fit tips (optional). Select false nail tips that match each nail width. Trim and glue them on with the brush-on nail glue as needed; file the edge for a smooth transition.
- Shape and dust. Use the hand files to refine tip length and shape. Remove dust with a brush or wipe.
- Apply primer. Apply a small amount of the 15ml primer to the natural nail only—this helps adhesion. Let it dry as directed on the primer container.
- Prepare your bead. Pour a small amount of monomer into a dappen dish (not included) and pick up a small amount of powder with your brush, or dip the brush into monomer then into powder to form a bead.
- Place and smooth the bead. Position the bead near the cuticle and gently press and sweep it toward the free edge to create the apex and smooth surface. Repeat until the nail is covered and shaped.
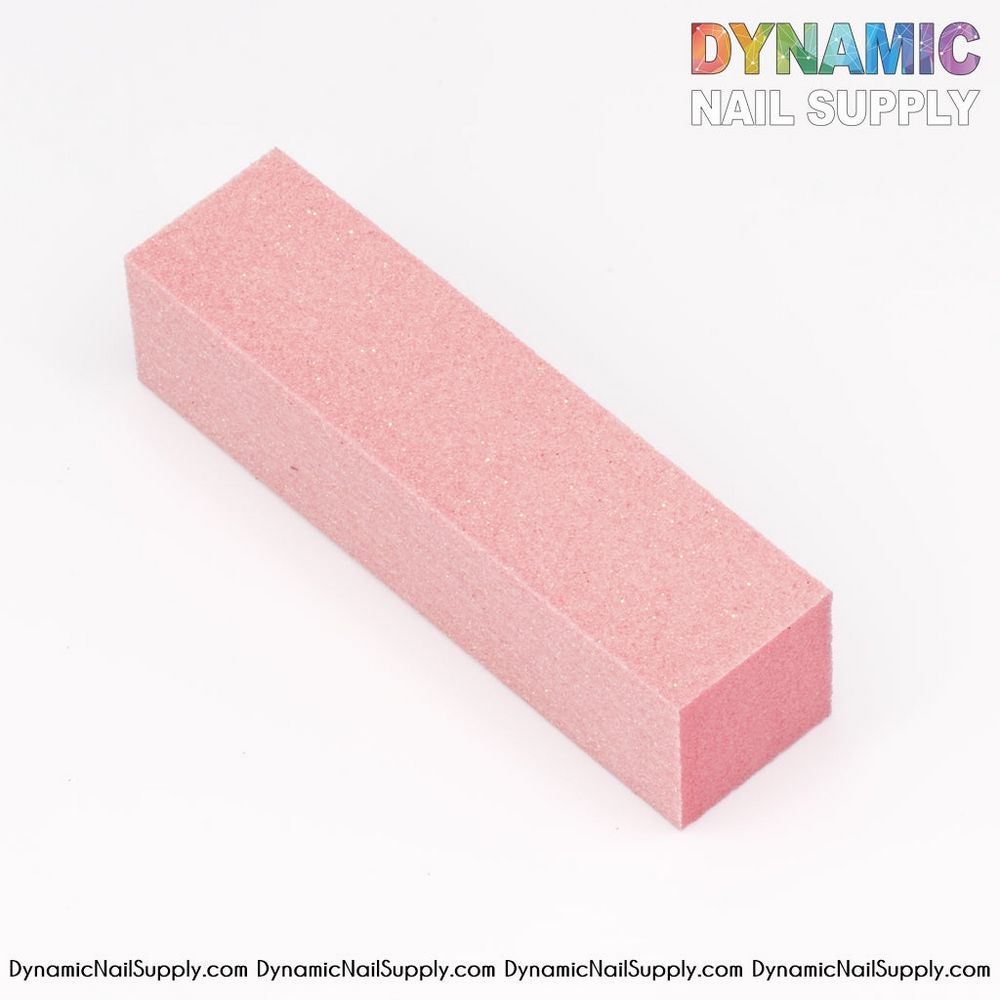
- File and blend. Once hardened, refine the shape with files and smooth transitions with buffers included in the kit.
- Finish with top coat. Apply the 15ml no-wipe top coat gel to seal and shine. Cure if required by your top coat instructions or allow to air-dry as appropriate.
Practical tips that make practice more productive
- Work with small beads at first; large beads are harder to control. Practice creating a uniform cross-section bead to learn the timing.
- Change or clean your brush often during a session—monomer will affect brush shape over time.
- Use the training finger set to rehearse placement and shaping before working on a person.
- Label powder jars if you plan to mix colors or save partial jars; the kit includes six distinct shades to experiment with.
Who this kit is best for
This kit is designed for beginners and aspiring nail artists who want a complete set of tools to learn acrylic technique at home or in a small salon setup. With 500 false tips and a training finger included, it’s also well suited for students practicing many repetitions.
Care, storage and simple safety notes
Keep monomer tightly closed and store it upright to reduce evaporation and odors. Work in a well-ventilated area and avoid prolonged skin contact with liquids like the monomer and primer—use gloves if you have sensitive skin. Clean and dry brushes thoroughly between uses and store tools flat to preserve brush shape. Dispose of paper or cotton waste that has soaked up monomer safely and follow local rules for chemical disposal.
Key features in context
- Brush #10: Large enough for beginners to handle acrylic beads comfortably.
- Variety of powders: Six 1oz jars let you practice color blends and classic shades without buying separate tubs.
- Training finger and 500 tips: Ample practice materials so you can build speed and confidence.
- No-wipe top coat: Simplifies finishing—applies clean shine without extra cleansing steps if used as directed.
Final thoughts
For beginners, a curated kit that combines powders, liquid, tools and practice materials shortens the learning curve. Use the step-by-step routine above, take your time learning bead placement and shaping, and keep safety in mind when handling liquids and primers. If you’re ready to start practicing with everything in one box, this acrylic nail starter kit is assembled to get you hands-on quickly and affordably.
