
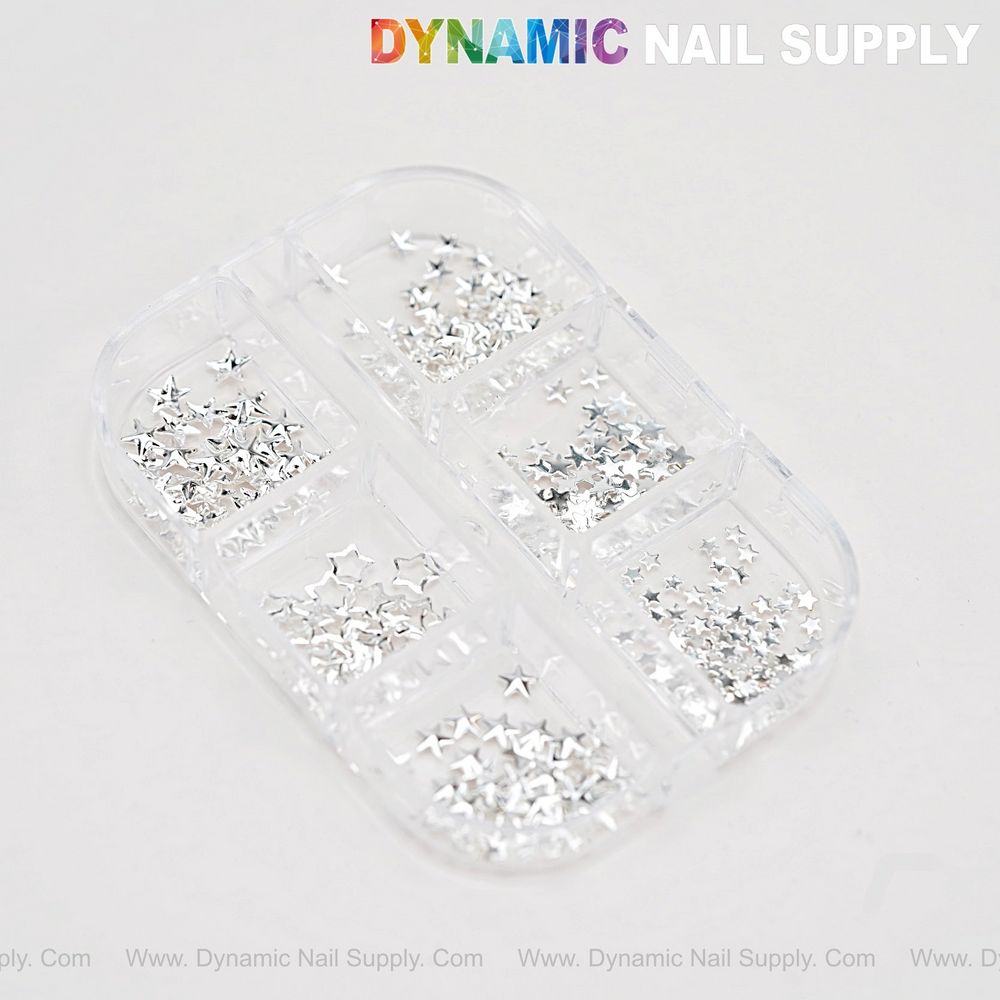
Sparkling silver stars can turn a plain manicure into a standout look, but if you’re new to nail charms the tools and steps can feel confusing. This beginner-friendly guide breaks down the essential terms and shows you how to apply, secure, and care for silver star nail charms so your designs last and look professional.
These charms are sold by Dynamic Nail Supply and come in mixed star designs that work well for accents, accent nails, or full-pattern looks. If you want a ready option to start practicing, check out silver star nail charms set for a compact pack that suits beginners.
What exactly are silver star nail charms?
Silver star nail charms are decorative, metallic or rhinestone-studded stars made for nail art. They fall into familiar categories like 3D charms and flatback beads: 3D charms add dimension above the nail surface, while flatback beads and rhinestones sit flush for a sleeker profile. Tags associated with this product include sparkling charms, silver rhinestone, silver pearl beads, and Star Charms—phrases you’ll see used interchangeably in kits and collections.
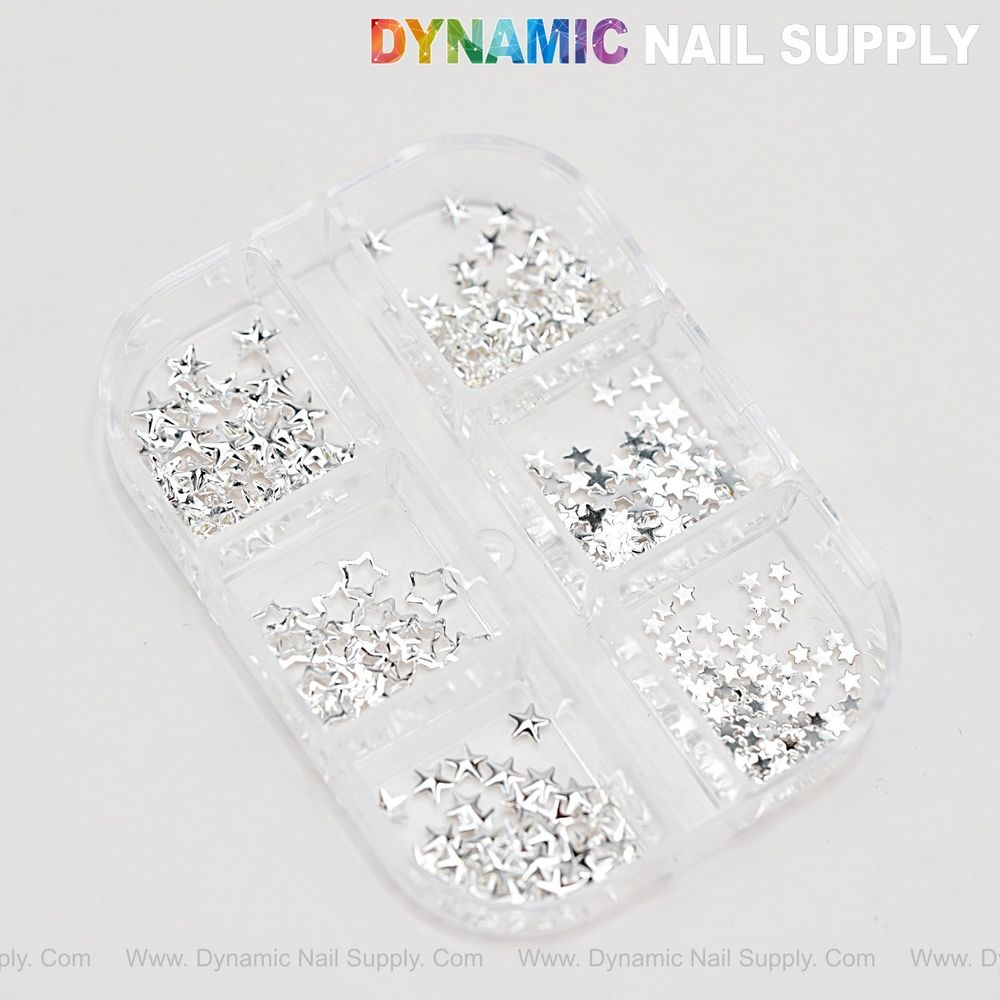
Key features to understand before you start
- Design variety: “Different star designs” means a mix of shapes and finishes—some stars are solid metal tone, others include tiny rhinestones or pearlescent details.
- Flatback vs. 3D: Flatback stars are easier to seal under a topcoat; 3D stars give a raised, sculptural effect but may need stronger adhesion.
- Silver finish: The silver color complements cool-tone polishes, but it also pairs well with deep hues and clear gels for contrast.
Step-by-step: how to apply silver star nail charms (beginner method)
Below is a straightforward routine that works with regular nail glue, nail gels, or builder gels. Adjust the products to match your preferred system.
1. Prep the nail
Clean the nail surface and remove oils with alcohol or a nail cleanser. Gently push back cuticles and lightly buff the nail plate for better adhesion. Apply your base polish or base gel and cure if needed.
2. Plan your layout
Arrange the charms on a practice surface so you know the placement before you pick them up. Smaller stars look great near the cuticle or on an accent stripe; clusters read as a constellation when grouped.
3. Adhesion and placement
For a simple method, place a small dot of nail glue where you want the charm and pick up the star with tweezers or a wax pick. Press the charm into the glue and hold for a few seconds until it sets. If you’re working with gel, place the charm into uncured top coat or builder gel and cure according to your lamp’s instructions.
4. Seal for longevity
Once charms are secure, apply a topcoat. For flatback stars, a thin layer of topcoat over and around the charm helps lock it in. For 3D stars, encapsulation with builder gel or a thicker gel topcoat creates a stronger hold.
Practical tips for more durable wear
- Seat the base: Press charms slightly into the adhesive so the base sits flat against the nail—this reduces catching and lifting.
- Use the right topcoat: A gel topcoat or builder gel will secure raised charms better than a thin lacquer topcoat.
- Placement strategy: Place larger stars on less-trafficked fingers (thumbs and pinkies get knocked more) or on tips where they’re easier to avoid hitting.
- Edge sealing: Brush clear gel around the edges of a 3D charm to create a smooth transition and reduce snagging.
Who should use these charms?
Silver star nail charms are ideal for:
- Beginners practicing placement and adhesion (they’re forgiving for experimentation).
- DIY enthusiasts who want to add sparkle without complex tools.
- Professional nail techs seeking quick accent pieces for themed sets.
The price for a starter pack is listed as $5.99, though prices may change depending on availability.
Care and safety notes
Handle charms carefully—tiny decorative pieces are a choking hazard and should be kept away from children. If you feel a charm loosening, remove it and reapply promptly to avoid losing the piece. For removal, consult the instructions for your adhesive system; professionals often recommend soaking or gentle mechanical removal performed by a licensed nail tech to avoid nail damage.
Finishing thoughts
Silver star nail charms are a versatile, low-cost way to elevate manicures with sparkle and personality. With basic tools—tweezers or a wax pick, adhesive or gel, and a reliable topcoat—you can achieve clean, durable results even as a beginner. Start with a few practice nails, experiment with layout, and you’ll find simple ways to make each set feel custom and polished.
Whether you want subtle accents or a bold star-studded manicure, these charms offer immediate visual impact with minimal fuss. Happy creating!
